
This a little helper post to show how you create a YAML pipeline in Azure DevOps. I reference this in my blog series about YAML pipelines.
Here are the step-by-step instructions to create a new pipeline in Azure DevOps.
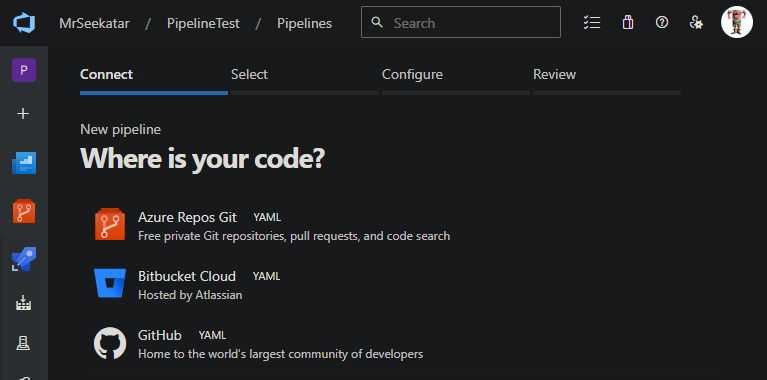
In the Pipelines section of Azure DevOps, click on the New pipeline button.

Select the location of your YAML.
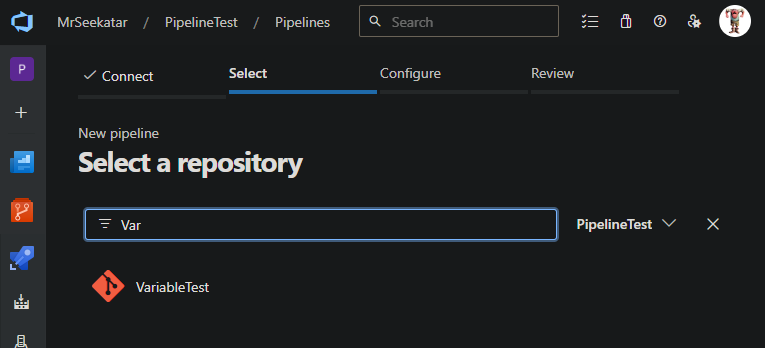
Select the one with your YAML. You may have to click All Repositories to see it.
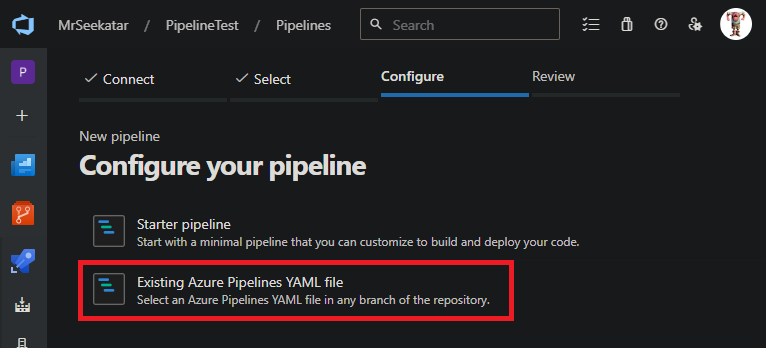
Select Existing...
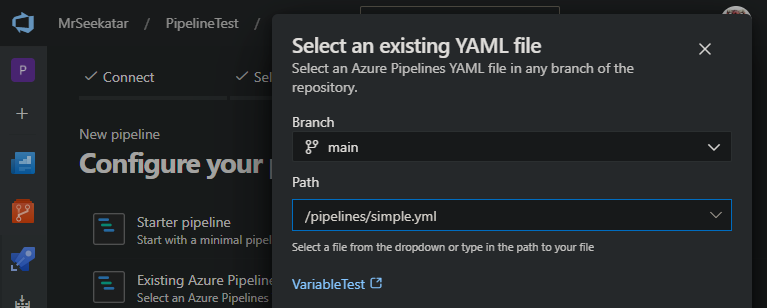
Choose your YAML file on your branch.
Pro tip: If you’re adding multiple pipelines after adding the first one, use the back button in the browser to get back to this location and avoid the steps above.
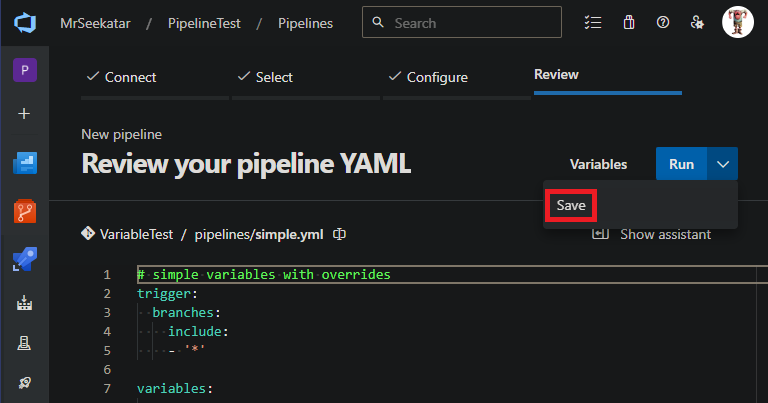
Save the pipeline. It will take a minute and give it a default name of the AzDO Project.
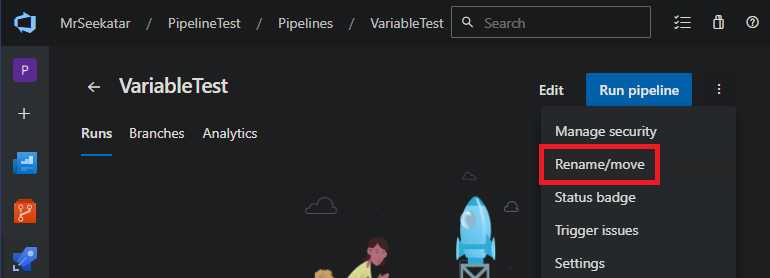
Use Rename/move to give it a better name, then click Edit.
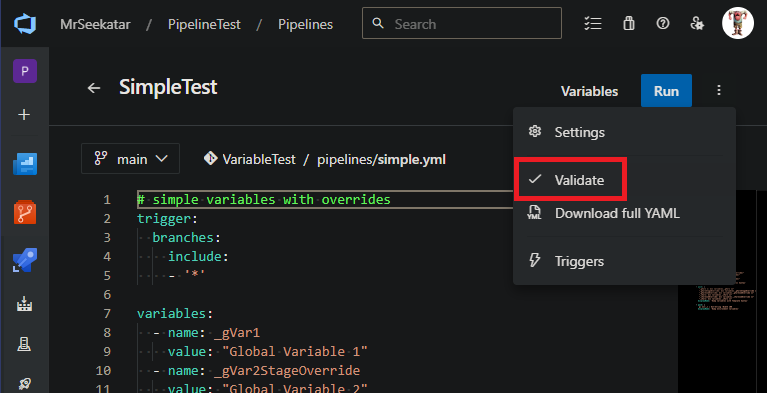
In the editor, click the kebab menu and Validate. You can correct errors here, or in your local editor, and push up the changes.
After your pipeline validates you can Run it!